

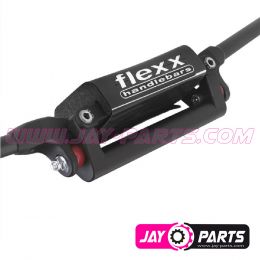
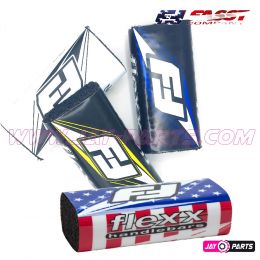
Fasst Fresh Kit Gen III


55,20 € 55,20 €
inkl. 20 % MwSt. zzgl. Versandkosten
Fasst Fresh Kit Gen III
Ersatzteilset für Wartung/Service und Reparatur von Fasst-Lenkern Gen III.
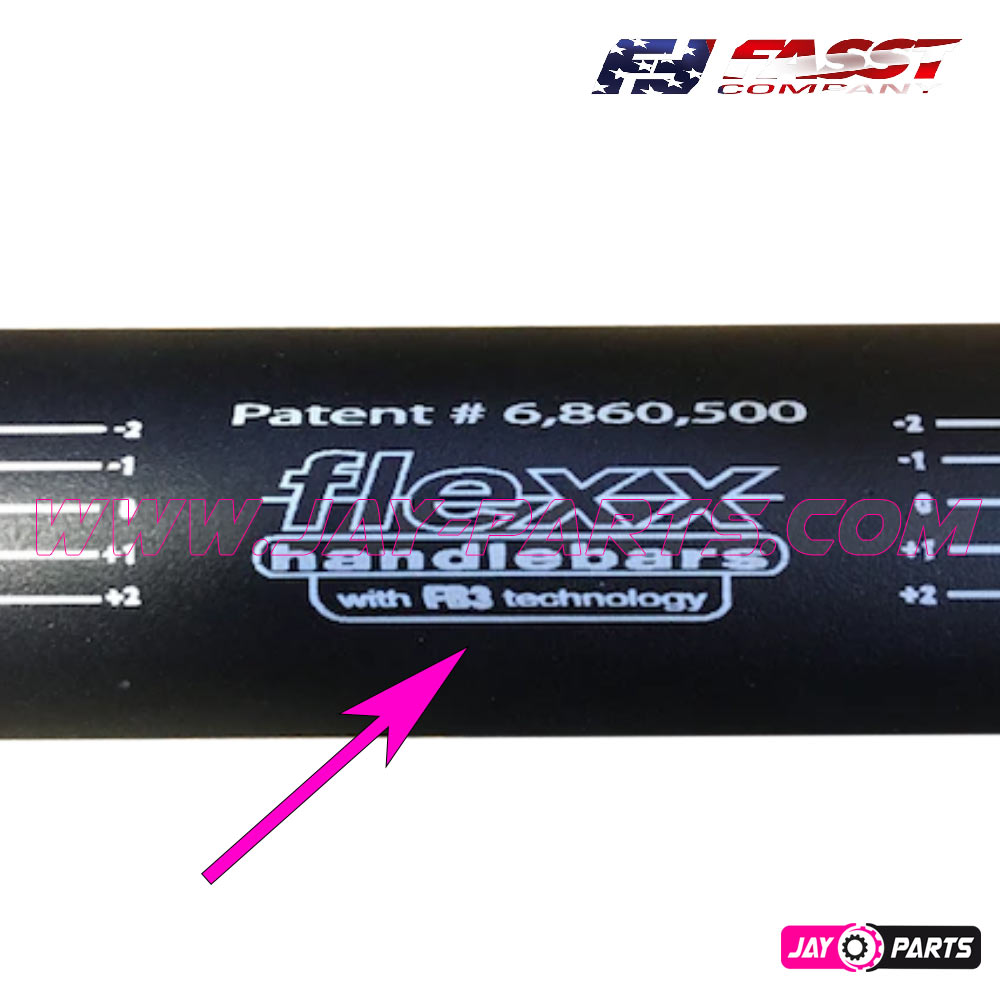
GEN 3 wurde von Arpil 2014 – Juli 2022 produziert. Erkennbar am Aufdruck „with FB3 Technology“
Vorrätig
Service / Reparatur Kit - Fasst Fresh Gen III
Ersatz-/Reparaturset für WArtung und Reparatur von Fasst-Lenkern Gen III.
Wie erkenne ich einen Gen III Lenker?
Die Lenker wurden produziert von April 2014 bis Juli 2022. Überprüfe ob dein Lenker die Aufschrift "with FB3 Technology" hat.
Made in USA.
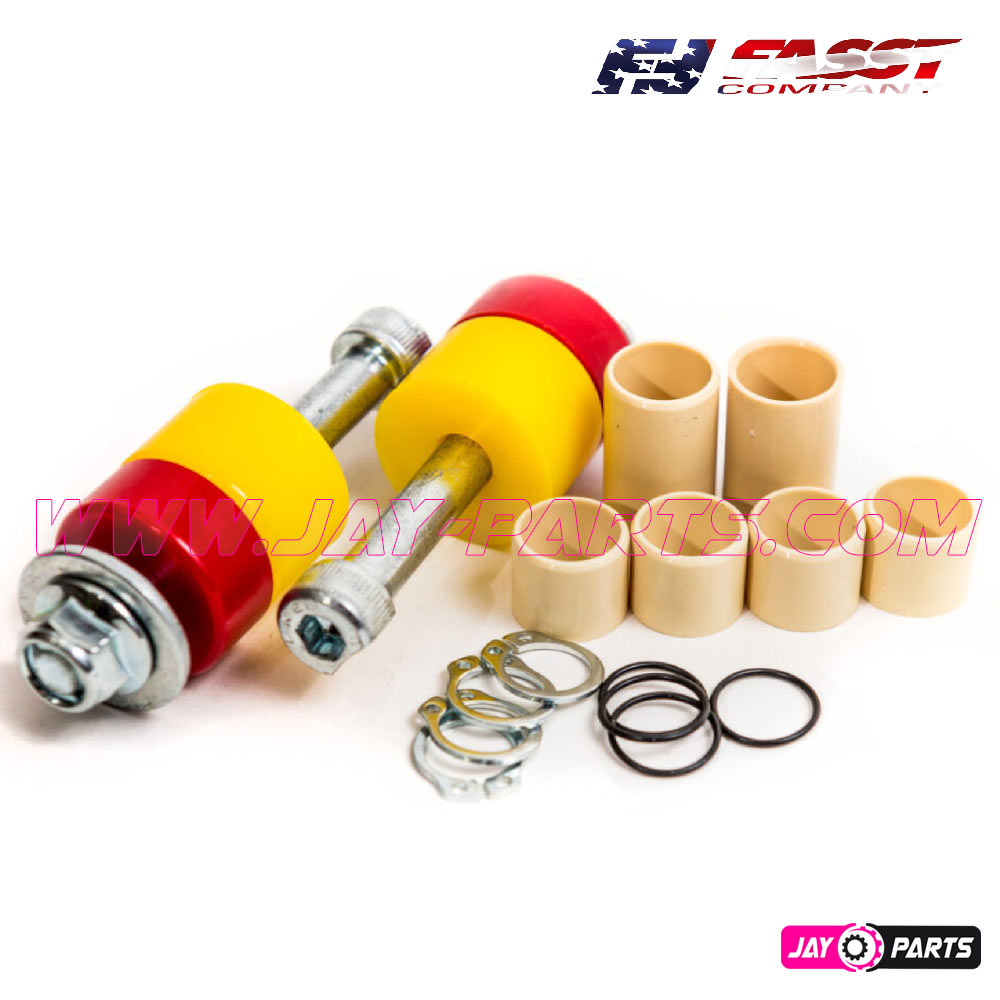
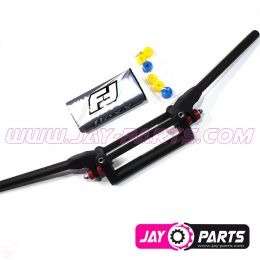
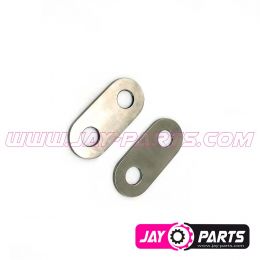
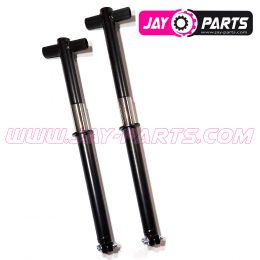
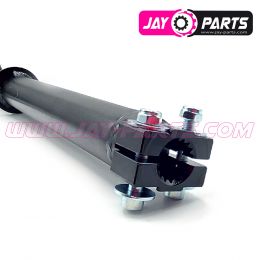
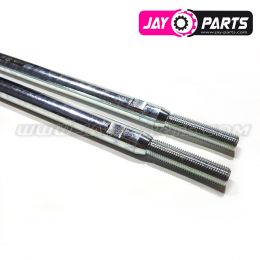
INHALT:
4 C-Clips
16 O-Ringe
2 Schrauben
2 Muttern
2 Beilagscheiben
2 Griff-Buchsen
4 Mittelteil-Buchsen
Rebound & Kompressionselastomer
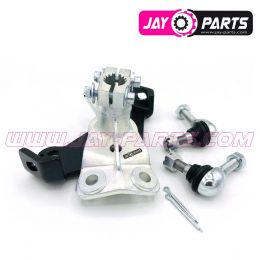
Service Process
THE STEP BY STEP SERVICE PROCESS
(Description from manufacturer)
TWO KEY THINGS TO REMEMBER
Do not mix the pivot pins up. The left pin needs to go back in the left hole, and the right pin in the right hole. We separate our pins and hone our pivot holes to .0001 of an inch. It is crucial to have proper fitment of each pin so there is not front to back play. 2) The second key point is do not strike the pivot pin directly with a hammer, press or any other form of tool. A dowel or punch must be used to protect the pivot pin from „mushrooming“. If you do not have a proper dowel or punch to match the pivot pin diameter you can use an old bolt to protect the pin.
TOOLS REQUIRED
12 or 13mm wrench
6mm allen
c-clip pliers
punch
hammer or press (air hammer is preferred, but not required)
safety glasses
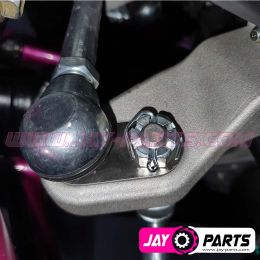
Servicing your Flexx Handlebar can be done on or off the machine. It is easier to do off the machine if you have a proper vise. Be sure if you do place the Flexx Handlebar in a vise you use plastic jaws or a similar product to protect the Flexx Handlebar from being damaged by the jaws. It is also important to note that whenever working with c-clips that proper safety eyewear is worn. C-clips have a tendency to fly off at warp speed when being removed or installed and although we know you want your Flexx Handlebar to perform as it is intended to it is not worth losing an eye over!
- Remove the elastomer nuts, slide the bolts back, then remove the elastomers.
- Remove the rear c-clips and rear crossbar.
- Tap the pivot pins forward slightly which allows easier access to the front c-clips. Remember not to strike the pivot pins directly.
- Remove the front c-clips and front crossbar.
- Now drive the pins completely out. Again, be sure not to strike or press on the pivot pin directly. Do not mix the pins up.
- Clean pivot holes and pivot pins. Remove the old o-rings and replace with new ones.
- Lube the pivot pins as well as pivot holes with anti-seize.
- Place the pivot pin in the back side of the bar, square to the bore. You will know the pin is square to the bore when it will not rock easily up, down, or to the side without applying force.
- Now tap the pivot pin all the way through the handle out the other side. It is easiest to replace the c-clips if the pin is extended out slightly past the crossbar.
- Place one o-ring on the front, outside of each pin, and then place the crossbars on to the pins. The extra 0-ring will keep the crossbars from vibrating. You may need to place an extra o-ring on the back side as well.
- Install the front crossbar and c-clips. Carefully tap the pins back until the c-clip is against the crossbar.
- Install the rear crossbar and clips. Be sure all of the clips are securely in their designated groove by pulling the crossbars away from each other.
- Install nuts, bolts and elastomers.
Add a review
Produktanfrage / Request to product: Fasst Fresh Kit Gen III
EU-Produktsicherheit
Herstellerinformationen
HERSTELLER
Faast Company
1337 S 1900 East, Washington, UT 84780 USA
(877) 306-1801
Bevollmächtigter (EU)
VERTRIEB
JAY PARTS GmbH
Lothringen Strasse 6/20, 4501 Neuhofen an der Krems, Österreich
info[at]jay-parts.com

Bewertungen
Es gibt noch keine Rezensionen.