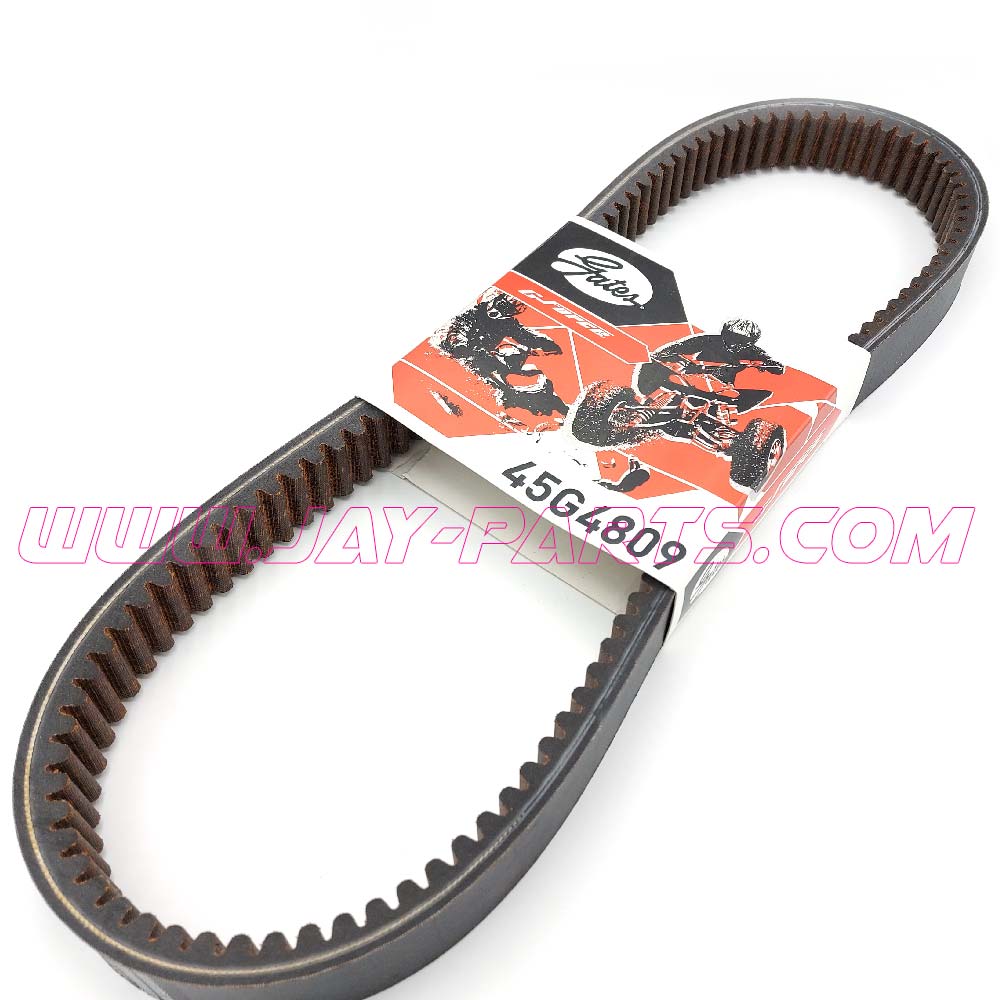


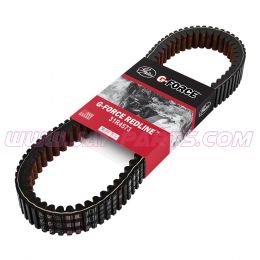
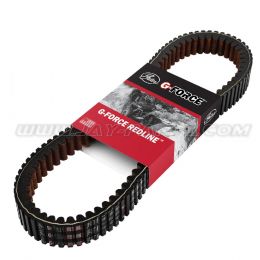
GATES G-FORCE 45G4809 – CVT Drive Belt for Snowmobiles Arctic Cat Bearcat


Original price was: 107,45 €.SALE 91,08 €Current price is: 91,08 €. 91,08 €
incl. 20% VAT plus shipping costs
GATES G-Force CVT Belt 45G4809 – Sowmobiles Arctic Cat Bearcat
Replaces OEM # 0627-014
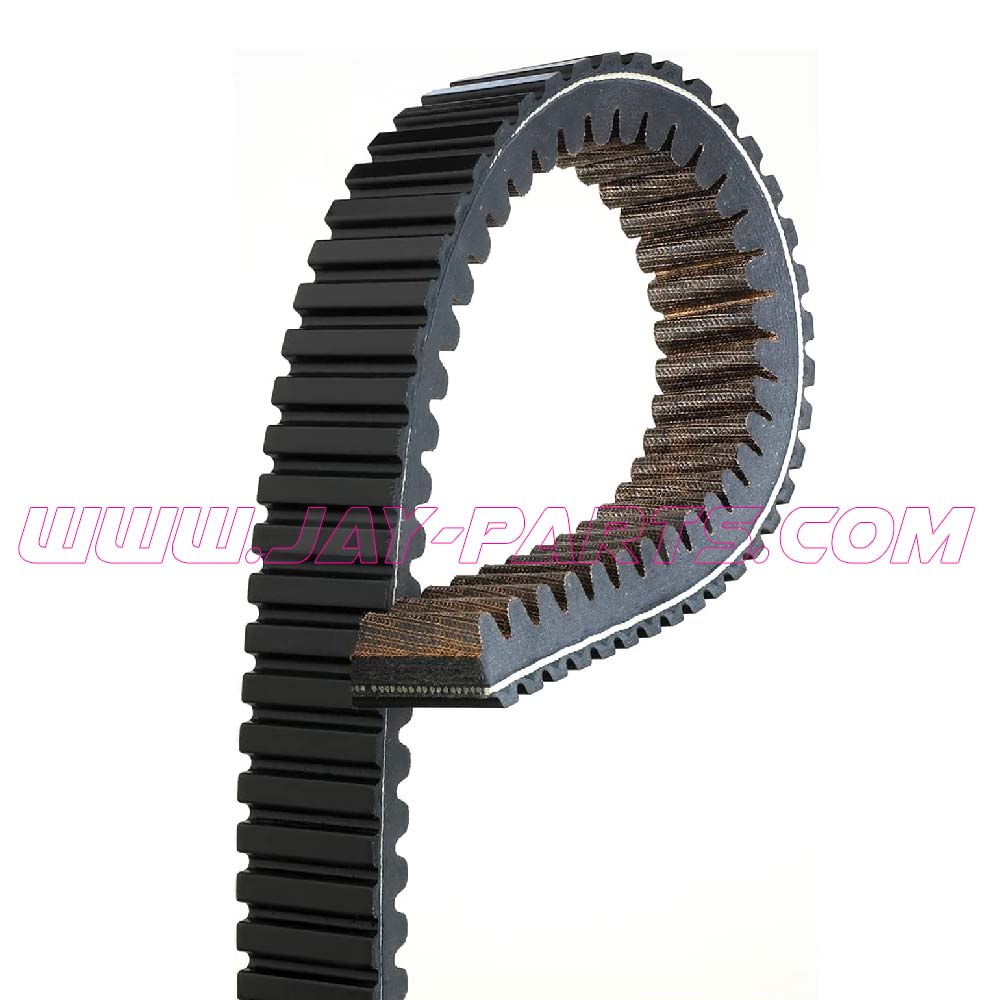
- flexible high-performance materials
- extended service life
- precise fit to the Original Equipment (OE) belt
- no need for clutching adjustments at installation
- Made in USA
Availability : in stock
In stock
GATES G-FORCE CVT Belt 45G4809 - ARCTIC CAT BEaRCAT
The G-Force for variomatic drives is the workhorse of the family and masters a hard day's work as well as quieter road trips.
Made in USA
ATTENTION
Not only correct assembly but also correct retraction of the belt is extremely important for the service life of every belt!
Please note the vehicle model list!
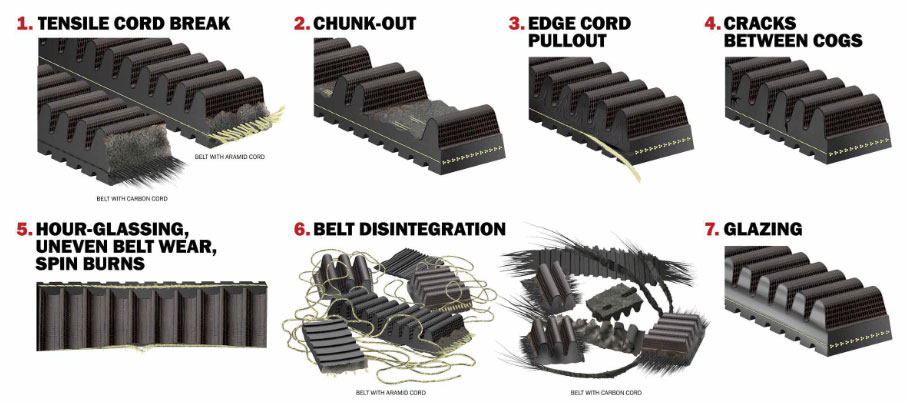
Troubleshoot
GATES G-FORCE POWERSPORT BELT FAILURE ANALYSIS – IDENTIFY AND TROUBLESHOOT CVT DRIVE ISSUES
SYMTOM | POTENTIAL COUSES | RECOMMENDATIONS ⇒ READ FULL DOCUMENT FROM GATES (pdf)
Installation
CVT-BELT INSTALLATION & BREAK IT IN
Not only correct assembly but also correct retraction of the belt is extremely important for the service life of every belt!
NEW BELT INSTALLATION
Choosing the right belt for your vehicle is critical for optimum performance. Please use the JAY PARTS drive belt finder. To ensure optimal operation of newly installed belts, the CVT sheaves must be cleaned of all old belt residue, dirt, debris, and oils. If any particles remain, belt slip and a noticeable drop in vehicle performance can occur
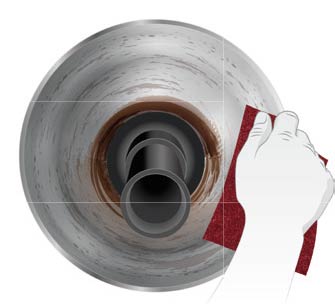
At JAY PARTS there is a 3D-Softflex – Non-Woven Abrasives-Pad FREE of charge with every GATES G-FORCE REDLINE CVT drive belt! Remove old belt residue, dirt, debris, and oils from the clutch sheaves with 3D-Softflex non-woven abrasives pad and isopropanol alcohol or acetone poured or sprayed on a rag.
ATTENTION: Do not spray onto the clutches and do not use brake cleaner.
- Make sure the vehicle is in park or neutral and the engine is off. Remove the cover of the clutch.
- If possible, blow out the clutches and all inlet and outlet openings in the clutch box with compressed air to remove dust, dirt and debris. If the previous belt broke, remove all the debris and cord if any are left in the primary or secondary clutches. Completely clear all inlets and outlets, especially the variomatic outlet, of any belt residue.
- If possible, check for correct alignment by checking the center-to-center distance between the primary and secondary clutch, see the vehicle manufacturer’s manual.
- Clean the clutch sheaves with the 3D-Softflex Non-Woven Abrasives-Pad and wipe them clean with isopropanol alcohol or acetone poured or sprayed on a rag – do not spray onto the clutches. Repeat this procedure until the sheaves surfaces are completely cleaned and dry. Do NOT use brake cleaner!
This removes the old belt residue and oils which can cause the new belt to slip. - Open the secondary clutch with suitable tools as recommended by the OEM. Install the new belt so the lettering can be read right side up. Although G-Force belts are not directionally biased, it is recommended to install them with the label lettering facing toward the user to keep belt reinstallation consistent. DO NOT FIT THE NEW BELT WITH A LEVER. (Note: When reinstalling the belt, always install it in the previous orientation to keep the belt wear profile aligned with the sheaves profile.)
- After installation, release the tension on the secondary clutch. Turn the secondary clutch anticlockwise until the belt reaches its initial position.
- Remove the tool that may have been placed on the vehicle.
- Mount the clutch cover on vehicles with a vario shaft mounted in the cover. If the vario shaft isn’t mounted in the cover, start unit up in park and let it idle for 30 seconds. Turn off the engine and replace the clutch cover. Give a quick throttle.
CAUTION: DO NOT reach into the clutch (rotating parts)
If the belt doesn’t come to rest and stop spinning in Park and the idle has dropped to normal warm engine rpm, check your system for alignment and proper operation of the variomatic. On snowmobiles you may need to adjust your deflection several times. - See the vehicle Owner’s Manual for proper alignment and center-to-center distances of the clutch system.
- When the belt stops in park and neutral mode, replace the cover and proceed to break-in process of a new belt.
PERFORM A HEAT CYLE – DON’T BREAK IT. BREAK IT IN.
If you take the time to break in a new belt gently and carefully, the belt will run smoother and you will have maximum life and performance. Follow the next HEAT CYCLES:
- Drive the unit in two wheel high for 20 minutes between 25-45 mph (40-72 km/h) avoiding hard accelerations and hills. Flat terrain works best. Vary vehicle speed and engine rpm to cycle the belt in the normal operating range, but not more than ¾ of the maximum force during retraction. In extremely cold weather, it is advisable to extend the break-in time by 5-10 minutes to allow the belt to warm up optimally.
- After 20 minutes of driving, let the unit cool down for 30 minutes with the motor off.
- Repeat the HEAT CYCLE for a second time. Let the belt cool down again for 30 minutes.
- Repeat the HEAT CYCLE for a third time. Let the belt cool down again for 30 minutes and you have a well broken in belt.
| KAT/CAT | Marke/Brand | Jahr/Year | Modell/Model |
|---|---|---|---|
| KAT/CAT | Marke/Brand | Jahr/Year | Modell/Model |
| Belt | Arctic Cat | 1995 - 1996 | Bearcat 550 |
| Belt | Arctic Cat | 1995 - 1998 | Bearcat 440 |
| Belt | Arctic Cat | 1996 - 2002 | Bearcat Widetrack 550 |
| Belt | Arctic Cat | 1999 - 2000 | Bearcat 440-I |
| Belt | Arctic Cat | 1999 - 2000 | Bearcat 440-II |
Add a review
Produktanfrage / Request to product: GATES G-FORCE 45G4809 - CVT Drive Belt for Snowmobiles Arctic Cat Bearcat
EU product safety
Manufacturer information
MANUFACTURER
Gates Industrial Corporation plc
1144 Fifteenth St., Suite 1400, Denver, Colorado 80202, USA
compliance[at]gates.com
AUTHORIZED REPRESENTATIVE EU
Gates Industrial Europe Sàrl
33, rue de Gasperich, L-5826 Hesperange, Luxembourg
gatesar[at]gates.com
DISTRIBUTOR
JAY PARTS GmbH
Lothringenstrasse 6/20, 4501 Neuhofen an der Krems, Austria
info[at]jay-parts.com
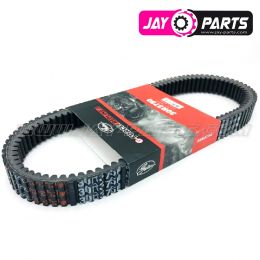

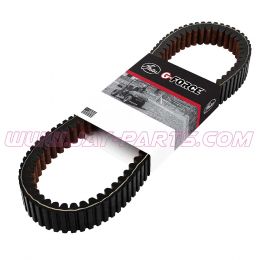

Recently viewed products
-
Sale!
 Original price was: 163,78 €.SALE 137,26 €Current price is: 137,26 €. 137,26 €
incl. 20% VAT
plus shipping costs
Availability : in stock
-

-

-

-

Reviews
There are no reviews yet.